 BoxDiegen
· Tuck End Box
BoxDiegen
· Tuck End Box
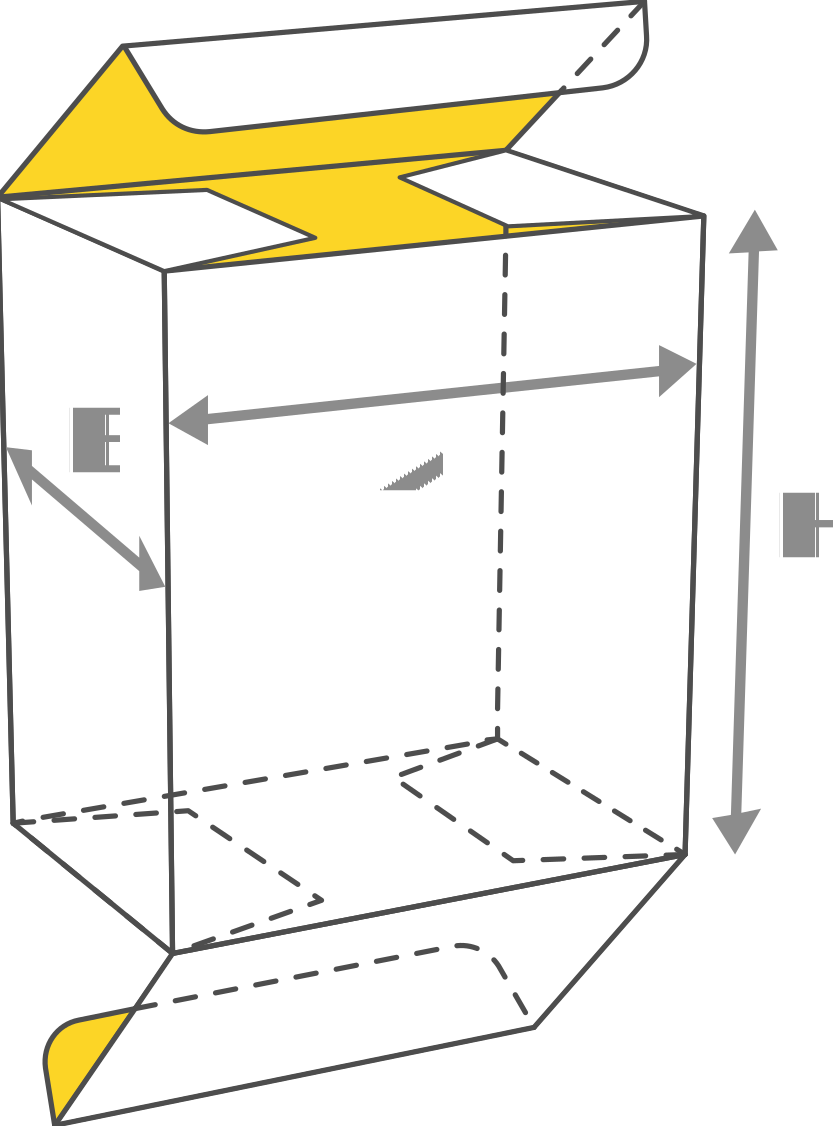
Tuck End Boxes are one of the most popular types of boxes in the industry. They are inexpensive and simple to manufacture, requiring only one gluing. There are two types, differing in the arrangement of the flaps relative to the front of the box.
The tuck end box is the classic folding carton used on shop shelves everywhere. This generator draws a print-ready dieline in exactly your size, with cut, fold and perforation lines in place, and exports it free as PDF and SVG.
A tuck end box is a folding carton made from one flat sheet of paperboard. Four body panels wrap around the product, a glue flap joins the side seam, and folding flaps close the top and bottom. Side dust flaps keep dust out and help the main flaps stay shut. In a straight tuck end box, both main flaps sit on the same side of the carton, which suits a clean printed front panel. In a reverse tuck end box, the flaps sit on opposite sides, which can save board. Both styles are options on this page.
To assemble the box, the printer prints and cuts the dieline, glues the side seam, and folds the carton flat for shipping. You fold the bottom flaps in, fill the box, and tuck the top closed. No extra glue or tape is needed at packing time, which is why this is the most common retail carton for light and medium weight products.
These popular tuck end sizes cover most small retail products. A is the width, B the depth and H the height of the finished box.
| Size (W × D × H) | Typical use |
|---|---|
| 50 × 50 × 120 mm (2 × 2 × 4.7 in) | Cosmetic and perfume bottles |
| 60 × 60 × 160 mm (2.4 × 2.4 × 6.3 in) | Spray bottles and supplement jars |
| 90 × 45 × 130 mm (3.5 × 1.8 × 5.1 in) | Soap bars and tea cartons |
| 100 × 60 × 180 mm (3.9 × 2.4 × 7.1 in) | Electronics accessories and chargers |
| 76 × 76 × 76 mm (3 × 3 × 3 in) | Candles and small gifts |
Most retail tuck end cartons are printed on 250 to 350 gsm paperboard. Light cosmetics suit thinner board, while heavier bottles are safer on 350 gsm. Match the material setting in the generator to your board, because thickness changes how the folds line up.
In the exported file, red is the cut line, green dashed is a fold and blue dotted is a perforation. Always print at 100 percent scale, never fit to page, and fold a test box from plain paper first to confirm the size. Keep artwork a few millimetres away from cut and fold lines so nothing is trimmed or creased.
Is this tuck end dieline generator free?
Yes, it is completely free. There is no account, no subscription and no limit on how many dielines you create or download.
What is the difference between straight tuck and reverse tuck?
In a straight tuck box, the top and bottom flaps fold in from the same side, so one face of the box stays clean for printing. In a reverse tuck box, the flaps fold from opposite sides. Both work the same way, and you can generate either style from Options on this page.
Should I enter inside or outside dimensions?
With the Inside size toggle off, the numbers you enter are the outside dimensions of the finished box. Turn the toggle on when you are working from the space your product needs, and the generator adds the material thickness so the inside stays true to size.
Which file should I download, PDF or SVG?
Choose PDF when the dieline goes to a printer or a cutting machine, because it holds the exact 1:1 size. Choose SVG to place artwork on the dieline or edit paths in Illustrator, CorelDraw or Inkscape.
Can I use the dieline for commercial production?
Yes, for your own products and for client work, including commercial print runs. Always fold a test sample first, because the dieline is generated from the dimensions you enter.
What material works best for a tuck end box?
Paperboard between 250 and 350 gsm is the standard choice. Use the thinner end for light items, and thicker board for heavier products. Set the same thickness in the material field so the folds calculate correctly.
Auto Bottom Box · Mailer Box · Cake Box Auto Bottom · Simple Tray